
Table of Contents
ToggleHP printers can be a lifesaver, but when those prints come out looking like a watercolor masterpiece gone wrong, it’s time to take action. Clogged printer heads can turn your vibrant documents into a blurry mess, leaving you frustrated and wondering if your printer’s been possessed by the ghost of bad ink. But fear not! Cleaning those pesky printer heads is easier than finding a cat video on the internet.
Understanding Printer Heads
Printer heads play a crucial role in delivering high-quality prints. When they become clogged, users face issues like streaks and poor color representation.
Importance of Clean Printer Heads
Clean printer heads ensure optimal print quality. They produce sharp, vibrant images and text. Regular maintenance prevents ink from drying and obstructing the nozzles. This maintenance also extends the life of the printer. A clean head results in fewer print failures and less frustration for users. Keeping printer heads clean saves time and reduces the need for repair services.
Signs of Clogged Printer Heads
Several indicators signal clogged printer heads. First, printouts may show streaks or missing sections. Users might notice faded colors or inconsistent ink saturation. Additional signs include unusual noises during printing or the printer ceasing to print altogether. Testing the printer’s self-cleaning option can help diagnose these issues. Observing these signs allows users to address problems promptly, maintaining their HP printer’s performance.
Preparing for Cleaning
Cleaning HP printer heads requires specific preparations to ensure an effective process. Gathering the right supplies and implementing safety precautions plays a vital role in this task.
Gathering Necessary Supplies
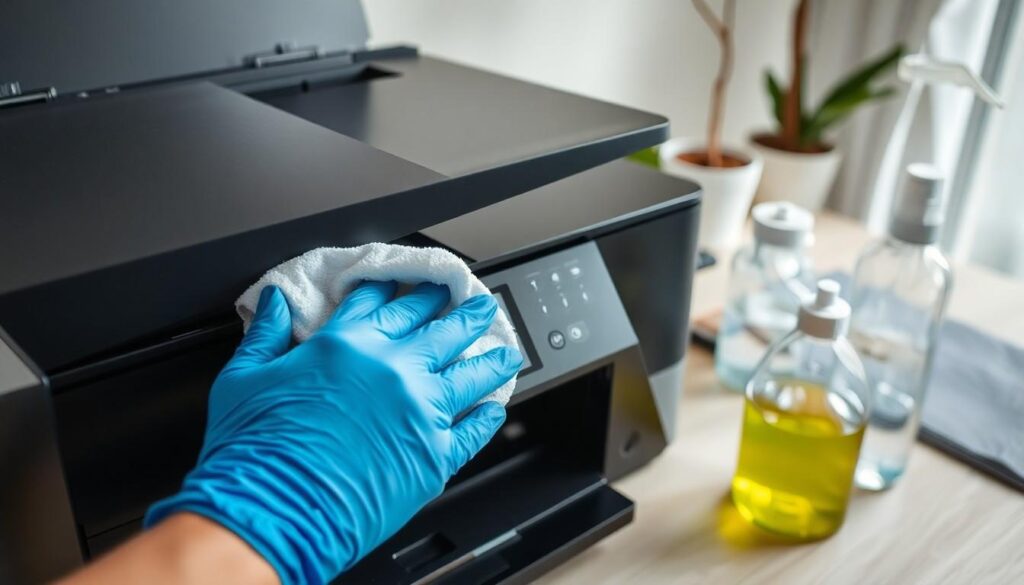
Collect the necessary items before starting the cleaning process. Tools like a lint-free cloth, distilled water, and a bowl for soaking are essential. Inkjet cleaning solution can enhance the cleaning process. Keep rubber gloves handy to prevent ink stains on skin. Having paper towels available helps absorb excess moisture after cleaning. A soft brush is also useful for removing any debris. Ensure access to the printer’s manual or online guide for specific model instructions.
Safety Precautions
Implement safety measures to protect both the individual and the printer. Turn off the printer and unplug it before starting any cleaning activity. Avoid direct contact with ink and use gloves while handling cartridges. Keep work surfaces clean to prevent accidental spills. Maintain a well-ventilated area to reduce inhalation of any chemical fumes from cleaning solutions. Following these precautions ensures safe and effective cleaning of the printer heads.
Step-by-Step Cleaning Process
Cleaning HP printer heads requires a few straightforward methods to restore print quality. Below are detailed steps for both manual and automatic cleaning techniques.
Manual Cleaning Method
Gather necessary supplies before starting. Use a lint-free cloth, distilled water, and inkjet cleaning solution. Wipe the printhead gently with a cloth dampened in the cleaning solution to remove stubborn ink residue. Avoid excessive pressure to prevent damage. For best results, let the printhead soak for a few minutes in distilled water. This step helps dissolve stubborn clogs. After soaking, dry the printhead with a separate lint-free cloth and reinstall it carefully. Print a test page to check for improvements in quality.
Automatic Cleaning Method
Utilize the printer’s built-in cleaning function for a quick and effective solution. Access the printer settings on the control panel or via the printer software on your computer. Choose the “cleaning” option, and select either a standard or deep cleaning cycle. The printer will perform a series of automated processes to clean the printheads. After completion, it’s crucial to run a test print to assess the results. If print quality hasn’t improved significantly, repeat the automatic cleaning process once more for better results.
Maintaining Printer Heads
Keeping printer heads in good condition enhances print quality and prolongs the printer’s life. Regular maintenance becomes crucial for optimal performance.
Regular Maintenance Tips
- Clean printer heads every few weeks to prevent clogs. Establishing this routine helps maintain vibrant colors.
- Use the printer’s self-cleaning function regularly. This feature efficiently removes minor obstructions.
- Inspect for signs of wear and tear. Examining the printhead and surrounding components ensures early detection of potential issues.
- Store ink cartridges properly. Keeping cartridges upright and sealed prevents drying out and clogs.
- Keep the printer clean and dust-free. Wiping down the exterior and interior surfaces minimizes dust accumulation.
When to Seek Professional Help
Seeking professional assistance becomes essential if problems persist after multiple cleaning attempts. Unusual sounds during operation often indicate internal issues. If printouts remain unsatisfactory despite maintenance efforts, further diagnosis may be necessary. Some problems can involve complex components. Consult with a technician for persistent issues that may require specialized knowledge and tools. Investing in expert help prevents long-term damage and costly repairs.
Maintaining clean printer heads is essential for achieving high-quality prints from HP printers. Regular cleaning not only enhances print clarity but also prolongs the printer’s lifespan. By recognizing the signs of clogged nozzles and utilizing both manual and automatic cleaning methods, users can effectively tackle print quality issues.
Prioritizing routine maintenance and following safety precautions ensures a smooth printing experience. If problems persist after cleaning, seeking professional assistance is advisable. Staying proactive about printer care can save time and frustration, allowing users to enjoy crisp and vibrant prints for years to come.


